Making & Harvesting Cultured Vegetables

1 Comment

Making & Harvesting Cultured Vegetables

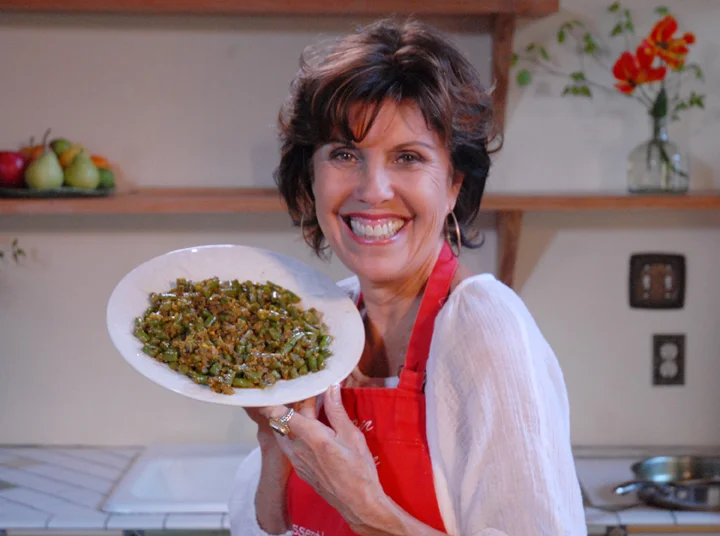
Yeah for Cultured Veggies! I have tested, tasted and experimented with making fermented veggies for about 20 years (maybe more). My point is that I have made them in so many different ways. You can do it too, and the best reason to make them yourself is that you can make them so delicious. I still like mine better than anything I can buy. So, do it!

Watch this video. It is on the long side and I do somethings with my hands that you should not do.  You will note I use my hands quite a lot with the food. If you do this, YOU MUST make sure your hands are super clean. Also, you must make sure that the all the utensils, equipment and counter surfaces are super clean. 

If you have a question when you begin or end the process, just drop me a line below and I will answer best I can.

Below is another video on harvesting the veggies. Then below that I have made some notes that pertain to the process that might help you out. There is also a link to some recipes, although I think you should make up your own. Good luck!

Here are helpful points to consider:

1. Make sure the container you make the veggies in is clean.

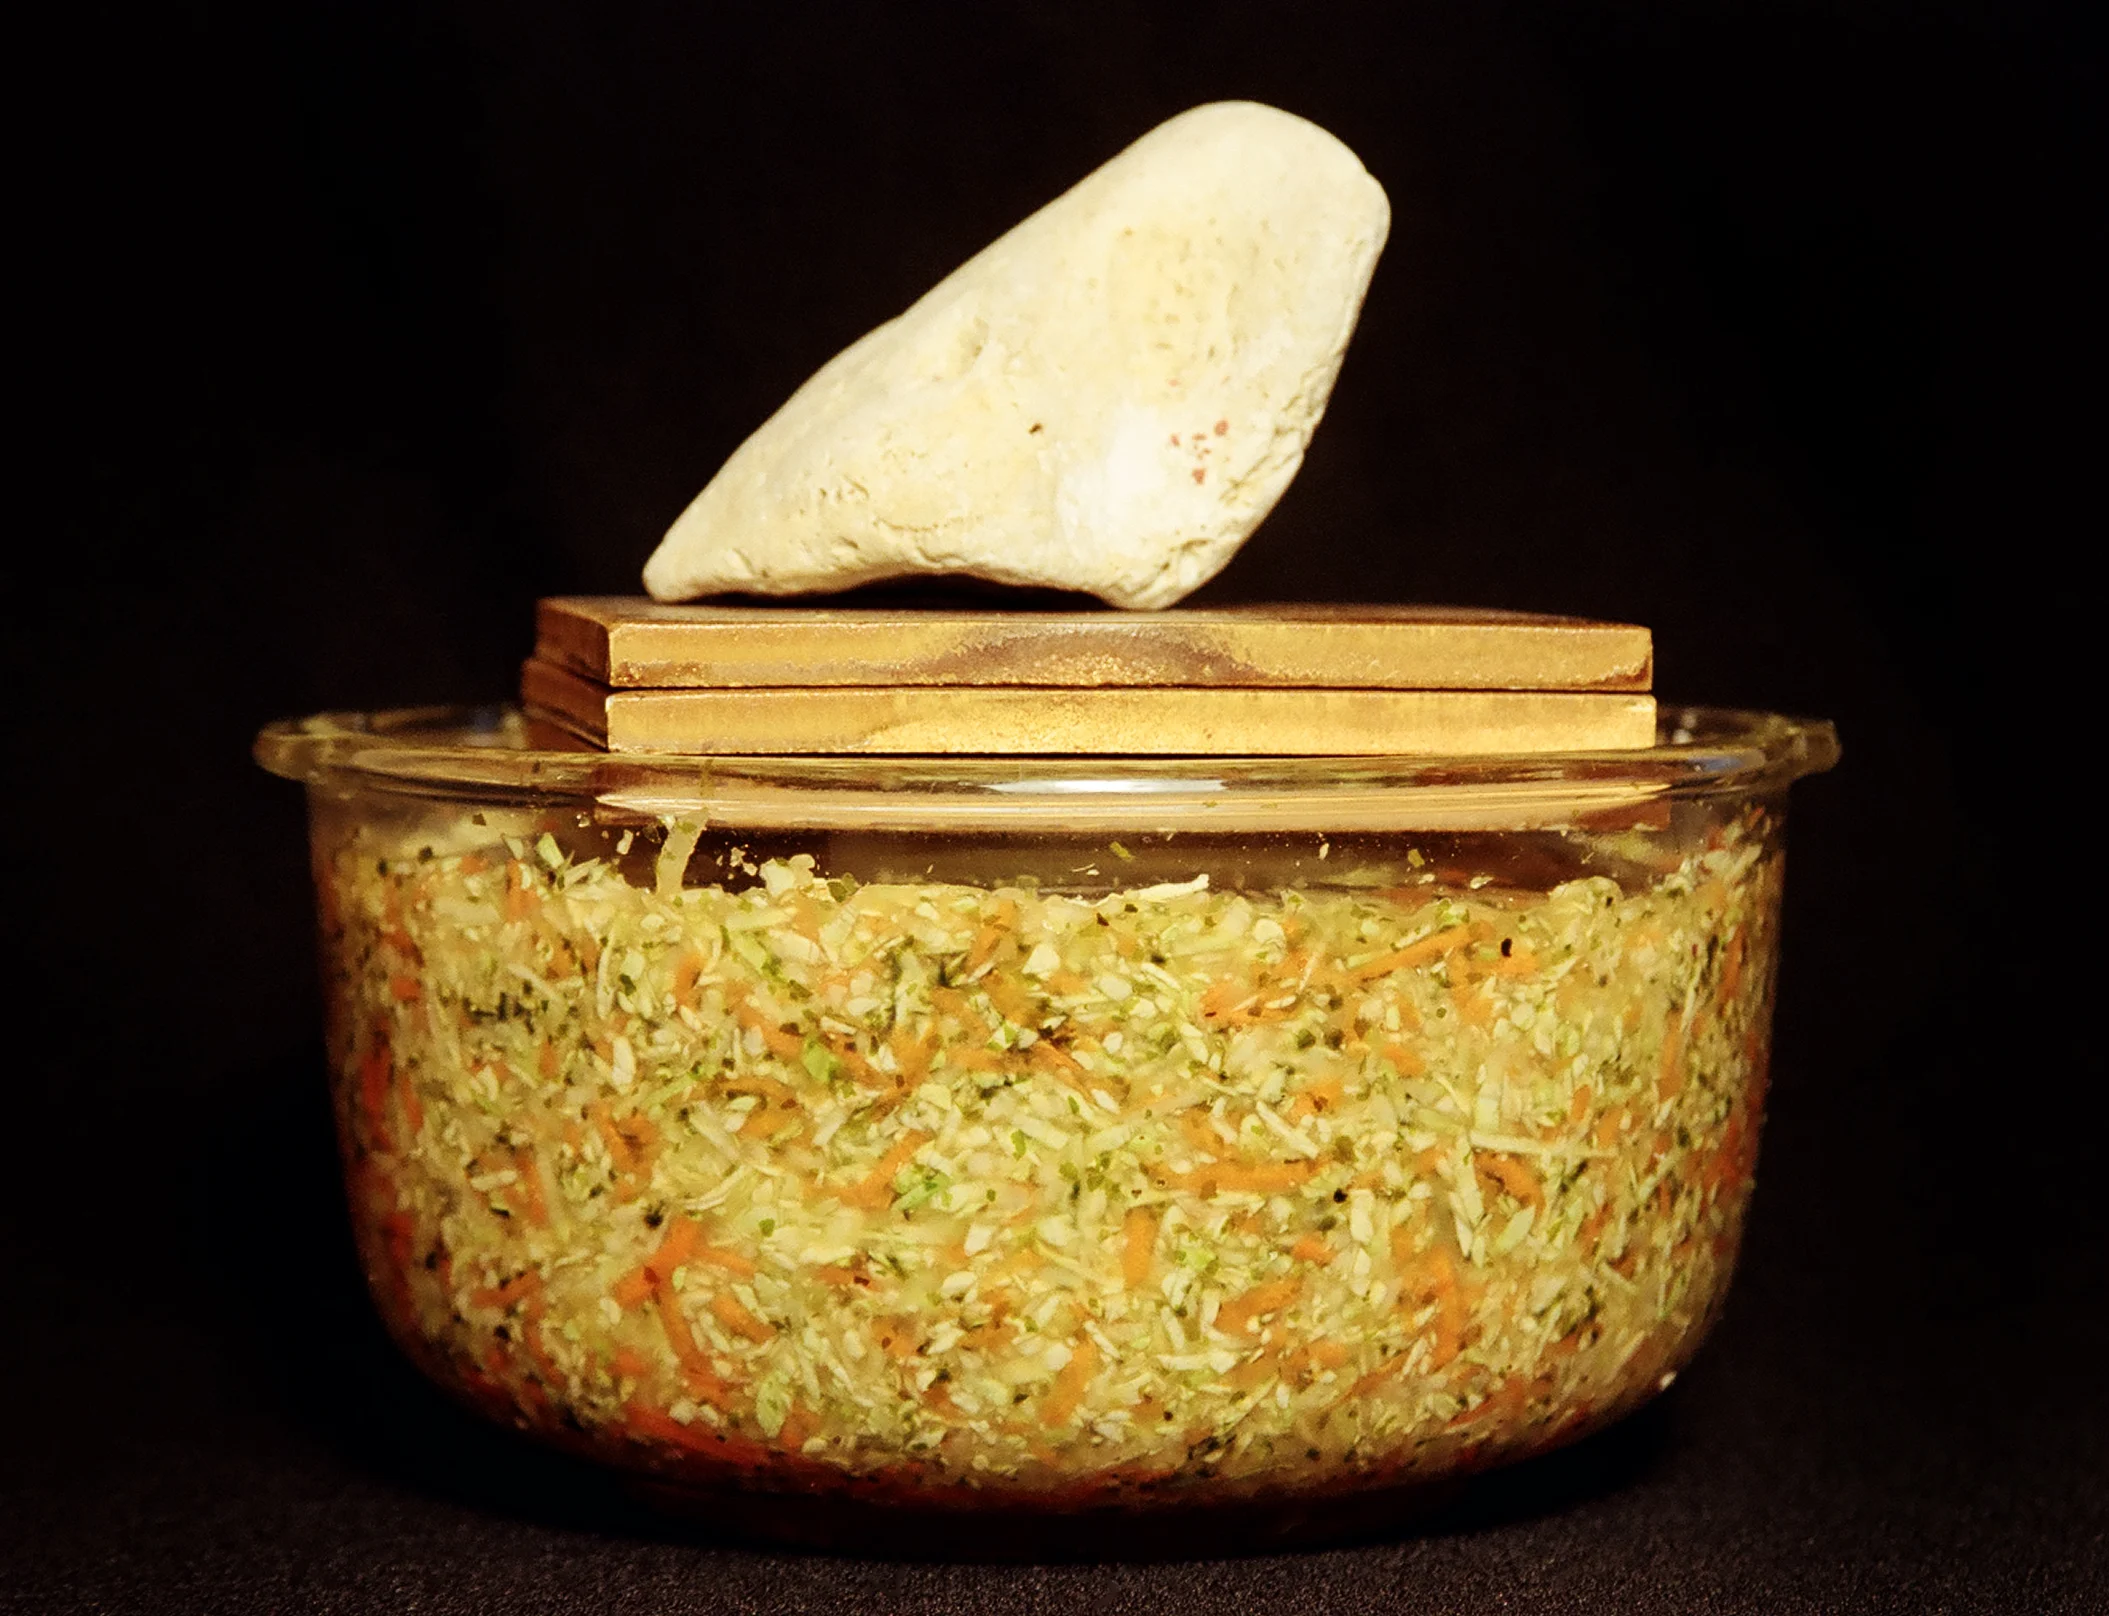
2. Clean: Whatever container you use, make sure that the inside of the container, bowl or crock is super clean from the top of the veggies to the top of the dish. In other words, if some food particles get left on the side of the container above the salty brine, they could attract mold. This is because they are unprotected. The brine, plates and canopy protect the veggies being cultured. But, above the line mold can attract easily. In my experience, there are many times that mold has appeared on the inside of the container on the rocks and even some floating on top of the brine. This does not mean the veggies are ruined. I have never had to throw a batch out if they are properly submerged below the canopy and brine.

3. Mold: In the situation where there is mold on the top of the container or on the brine, make sure you clean it all off before you lift the canopy to harvest the veggies. I usually wipe it very clean and pour off the excess juice on the top and discard it before I lift the canopy. Discard the canopy and all the juice on top if it has any mold.

4. Taste: This is the best way to make sure your veggies are good. Once you remove the canopy, then scrape off the top layer (not always necessary, but makes me feel better). I take a deep whiff (smell), then a small taste. You will know. Like I said, I have never had to throw a batch out. When you refrigerate them, the flavor will get even better. 

5. Smell: I have had many students call me and say, "I thew out the entire batch because it got foamy and smelly. Hear this: foamy and smelly is good. A natural foam can appear on the top of the brine. There is also quite a smell that comes along with the process, which depends on the vegetables that you use. For instance, don't use broccoli. It smells horrible. I remember the first time I used onion. OMG, it stunk, but the veggies were delicious. I still use onions in all my batches. 

6. Keep the process simple. A good way to start is to start small. Perhaps use a large glass jar. You don't even have to have a lid. You can place another jar full of water to act as a weight. Place it on a small canopy and then cover with a salty brine. Then cover it with a cloth and put in a dark place to ferment.

7. Timing: I went to a class once where we ate the veggies the next day after making them. I don't recommend that, but it is possible. I like to recommend at least 4 days. I ferment all of my big crocks for at least 2 weeks. I get an excellent product from 10 days to 2 weeks. Once you refrigerate them they will continue to ferment but very slowly.

8. Sea Veggies: If you use a lot of sea veggies like kelp or dulse, know that it can make the mixture gelatinous, which means kind of thick. I used a lot in one batch I made and the juice was kind of slimy.  It gave me the creeps, so I am careful how much I use now. In a very large batch with about 5 cabbages and a lot of other vegetables, I only use about 1/3 of a cup of kelp granules or dulse. So, keep this in mind.

9. Recipes: go HERE to my Blog to the cultured foods page. There are lots of goodies there. If you are interest in my course on Cultured Foods, the link is HERE.

OK, now give it try! Let me know how it works for you. Also, if you are need, or would love a 30 minute consultation with me, just let me know. Write me at: Susan@ChefTeton.com


1 Comment

Veggies a la Ayurvedic Style - Raita

3 Comments

Veggies a la Ayurvedic Style - Raita

Everyone always asks me, "What do I do with vegetables?". Well, here is the answer. Cook the Ayurvedic way. It seems everyone loves Indian food, and many think it is difficult to make. But, truly, it is so easy and you use the same spices and herbs over and over again in different veggie combinations. Once you have your herbs on hand, and try a few recipes, you will be on your way to making veggies the most delicious way possible. You will never get bored with them, and they will nourish and satisfy you at the same time. Plus, I think they are fun to make. 

Watch this short video and then give it a whirl. If you are interested in the Ayurvedic Healing Foods Course, check it out HERE.

Here is a short video showing you how to make a dish named "Raita" from my Ayurvedic Healing Foods Course. Raita can be made as a condiment or just a delicious side dish. Trust me when I say you should make this dish because you will swoon over it's amazing flavors. It will light up any and every dish you make. If you are a person who likes to eat dairy free, then use coconut yogurt.

Raita Recipe

2 cucumbers

3 tbsp Ghee

1/2 tsp cumin, black mustard and fennel seeds

1 pinch hing (optional)

1 pinch cayenne or chili flakes

1 handful of cilantro (about 1/2 cup)

1/2 cup plain organic whole milk yogurt

Skin and grate the cucumbers. Pour off excess juice (drink if you like). Mix with yogurt and set aside.

Heat the ghee in a saucepan over a medium heat. When the ghee is hot add the herbs and hing, cook a moment until the seeds sizzle and pop. Add cayenne or chili.

Remove from heat and add in the cilantro. Let cool and add in the yogurt/cucumber mixture. Serve as a side dish.

susan@chefteton.com 808-250-1535

3 Comments

Nut & Seed Milks - Delicious, Nourishing, Affordable & Easy!

12 Comments

Nut & Seed Milks - Delicious, Nourishing, Affordable & Easy!

I see so many people purchasing dairy free milks in aseptic containers, which is OK, but not nearly as delicious, nourishing and affordable as making your own. First of all, most of these milks like almond, coconut, soy, hemp, etc., are pasteurized, which means they are no longer alive and fresh, which means the only value they provide to you from those precious foods, is, calories.

Although they may be more convenient and good for travel, they are not nearly as delicious and nourishing. The great thing about consuming nut and seed milks is that they contain essential fats that are fabulous for every part of your body. When these factory made milks are heated and processed they loose a lot of the essential ingredients and other nutrients that make them healthy and tasty.

In my Raw Food Series, you can learn to make your own. They are so simple. All you do is soak the nuts and/or seeds, rinse. Put in the blender with cold filtered water and blend. Strain if you like. The focus in my course is sesame seed milk, which is alkaline and also almond milk. You can also make milk from sunflower seeds, hemp hearts, pumpkin seeds, and buckwheat to name a few. I like mixing a few varieties together. After making them, they store well in a glass jar for a few days. This is how you get “live” seed milks full of essential fatty acids.

Making your own milks is so easy and affordable, plus so much more. Give it a try. You will love the refreshing flavors.

12 Comments

Comment

Lemon Cake - Gluten Free - Paleo (sort of)

Lemons, lemons and lemons. I love lemon anything, particularly some sort of cake or dessert. Since I am a not a real sweet lover, I found a recipe which I would call "sort of Paleo". So, I adopted it and then topped it with fresh strawberries and blueberries. Here is the recipe:

Cake Ingredients

4 eggs

1 cup gluten free flour

1/2 cup almond meal

2 sticks of organic butter (I used Cultured Butter) softened

1/2 cup sugar (+ more if you want it sweeter)

2  tsp baking powder

Zest of one lemon and juice of one large juicy lemon

Topping Ingredients

Zest of 2 lemon rinds plus the juice

1/3 cup sugar or maple syrup

Mix ingredients for topping together and hold until cake is baked. 

Directions

Preheat oven to 350 degrees, and grease loaf or square baking pan.

Mix all of the ingredients together and then bake for 35 to 40 minutes. When the cake is firm, remove from the oven. Take a tooth pick and poke little holes all over the top. Then spoon the topping over the top of the cake. Let cool and enjoy. Refrigerate to store. 

This cake become firm, and quite dense. Since I am a lemon lover and not a sugar lover, I find I can sweeten things a little more if I use a little stevia with the sugar. The sweetness will also depend on how sweet the lemons are. If they are really sour, I would add a little stevia with the sugar or use more sugar. Up to you! 

Top with fresh berries. YUM!


Comment